Archive for the ‘Maintenance Tips’ Category

Maintaining the Belts on Your Exmark Mower

Thursday, October 8th, 2015

Belt replacement is a topic we consistently get questions about here at Exmark. Today, we’ll talk about how to maximize belt life, how to know when belt replacement is necessary and where to go to learn how to replace belts on your Exmark machine when the time comes.

Rule #1 – Keep Belts Tight

Exmark Owner's Manual

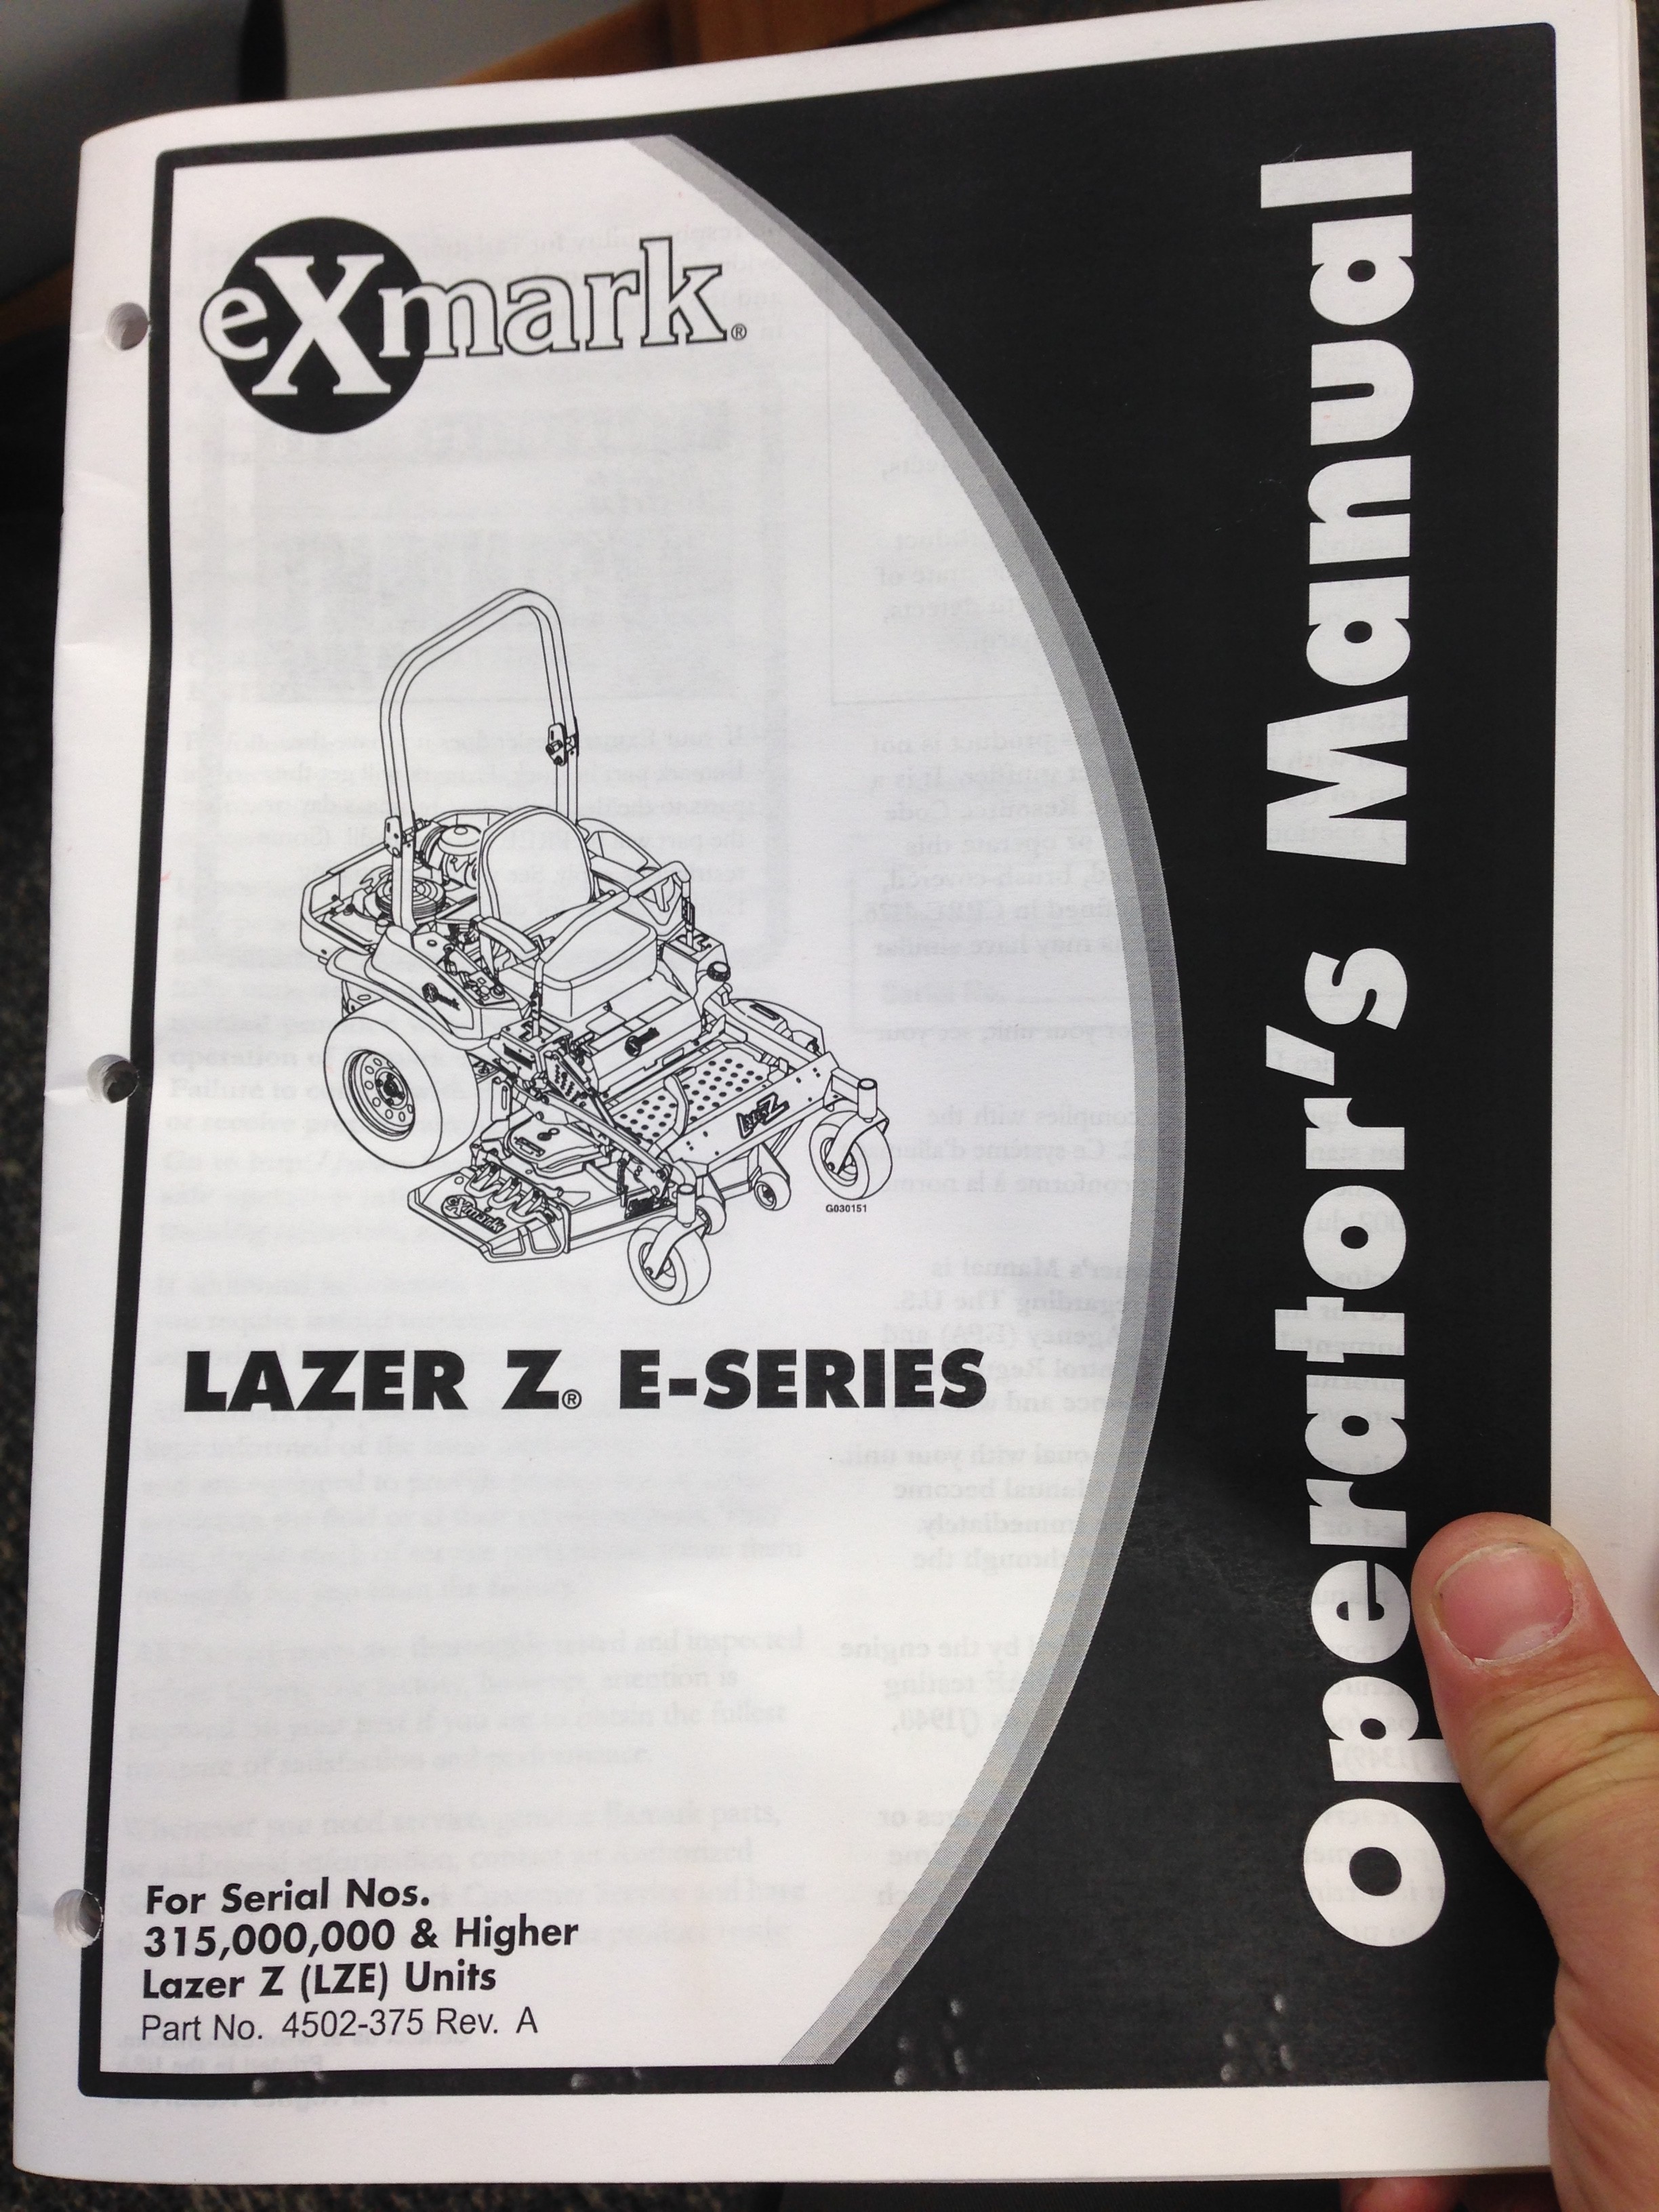
Your Exmark Owner’s Manual is a great resource for information about belt inspection, adjustment and replacement.

Proper tension is a critical factor in the durability of deck drive belts. Loose belts can slip or spin on the pulleys, reducing their lifespan considerably.

Most belts on current Exmark machines are self-tensioning, but older machines have belts with spring-loaded tensioners that keep consistent tension during operation, but require periodic user adjustment. Your owner’s manual or local Exmark dealer can help you know which belts are self-adjusting and which you’ll need to periodically check and re-tension.

It’s especially important to stay on-top of tension following belt replacement. In the initial hours of use after a belt is replaced, it “fits-in” to the pulleys. During this time, regular adjustments likely will be necessary to keep it properly tensioned. We recommend checking new belts three times within the first 24 hours of use, adjusting whenever the tension drops below the specification for your machine. Doing so will help to ensure the long life of the belts and pulleys.

Checking belt tension

You can check belt tension by using a fish scale and a ruler. Use the fish scale to apply pressure to the belt while you measure belt deflection with the ruler. On some belts, we recommend 1/2-inch of deflection at 10 pounds of pressure. That means it would take a force of 10 pounds to move the belt 1/2 inch. Your machine’s owners manual or your local Exmark dealer are great resources for the specific tension specifications for your machine.

When to replace belts

Original Exmark Parts cutting deck belt

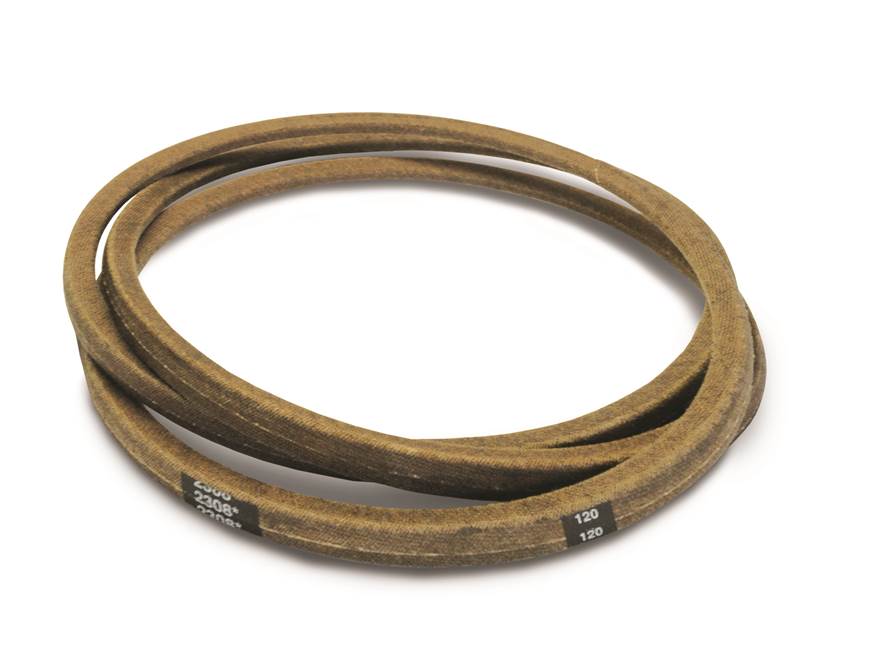
Preserve the performance, reliability and long-term value of your Exmark machine with Original Exmark Parts belts.

The specific timeframe for belt replacement can vary considerably based on a number of factors including the type of mowing being performed/operating environment, belt tension and the location of storage. We recommend checking the condition of all drive belts every 40-50 hours of use, or any time a performance issue is noted, such as slipping, noise or compromised cut quality. Replace any belt that shows obvious signs of wear.

Your owner’s manual has the most detailed, accurate information about replacing the belts on your Exmark machine. If you don’t have your owner’s manual handy, you may be able to find a digital copy at Exmark.com:

Insist on Original Exmark Parts

Exmark Original Parts logoBelts are a critical element to the performance of the cutting and drive systems, so insist on Original Exmark Parts. They are the only ones designed specifically for your machine, so you can be confident they’ll deliver the durability, performance and long-term value you expect. Learn more about the value of Original Exmark Parts belts at Exmark.com.

Don’t let worn or under-tensioned belts compromise the performance and reliability of your Exmark machine. A little time spent on preventative maintenance now can eliminate a lot of headaches for you and your crews later on.

Other service resources at Exmark.com:


When to Stop Mowing Your Lawn for the Season

Thursday, September 17th, 2015

In most parts of the country, turf grass growth slows to a crawl as the temperatures cool in the fall. A common question from our customers is when to stop mowing their lawn for the season.

As you might imagine, there’s really not one date where you can say “it’s time to stop”. That said, with a little knowledge of what to look for, it can be a relatively easy question to answer for yourself.

What to Look For

As with many lawn-related questions, the answer to when you should stop mowing is rooted in your geography and the prevailing weather pattern your area is experiencing.

Aeration -- when to stop mowing

Aeration in the fall helps reduce soil compaction and encourages root growth of cool-season turf types.

According to research published by Cornell University, top-growth (growth above ground) of the lawn slows to a virtual standstill after about 10 days with average daily temperatures below 50 degrees F. At this point, the turf grasses will focus on root growth until the ground freezes.¹

You’ve likely notice the decrease in your lawn’s growth as cooler fall temperatures settle in. By keeping tabs on your local weather, you’ll be able to determine when your daily average temperature goes below 50 degrees F.

Though mowing frequency may decrease significantly, folks who live in warmer parts of the country may end up continuing to mow throughout the year, if simply to keep the lawn looking well-kept. That said, those of us in the upper two-thirds of the country will inevitably end up putting the mower away for a few months.

Cooler Temps = Less Frequency & Lower Cutting Height

when to stop mowing lawn

The annual growth cycle of cool-season grasses. Source: Cornell University

As temperatures drop and your mowing frequency decreases, you’ll want to finish the transition to the low-end of the cutting height window for your turf grass type. This prepares the lawn for winter by reducing its exposure above ground and encouraging the active root growth that takes place in cooler temperatures.

According to the Iowa State University Extension, you should cut your lawn to 2-2.5 inches for Kentucky bluegrass or tall fescue, and 1.5-2 inches for perennial ryegrass or creeping red fescue.²

Fall is a Good Time to Fertilize

Fall dethatching -- when to stop mowing

Early-fall is also a good time to perform dethatching on cool-season grasses.

As you transition your cutting height to the lower end of your cut height window, you might also want to consider fertilizing your lawn. This supports the active root growth that’s taking place and fortifies your lawn so it stays healthy through the winter and greens up quickly next spring.

If you still have questions about when to stop mowing, or how to prepare your lawn for winter, contact your local Extension agency or a local landscape professional. Both can be valuable references as you work towards a more beautiful lawn.

Citations and References:

  • ¹ “How Grass Grows“, Cornell University. Cornell University, n.d. Web. 31 Aug 2015
  • ² Agnew, Michael and Christians, Nick. “Mowing Your Lawn“, Iowa State University Extension. Iowa State University, revised August 2009. Web. 31 Aug 2015

Why You Should Aerate Your Lawn this Fall

Thursday, September 3rd, 2015

(StatePoint) Fall is a great time to aerate the lawn. Whether you do it yourself or hire a lawn care professional to do it for you, aeration at least once per year provides a number of benefits to your lawn, say experts.

Exmark Aerator

An increasing number of landscape professionals are turning to productivity-enhancing machines like this Exmark 30-inch Stand-On Aerator. The stand-on design also reduces operator wear and tear significantly.

The main benefit is to relieve compaction and increase pore space, which promotes gas exchange and microbial activity in the soil and creates a better, more supportive environment for lawn health and vitality. Aeration also promotes better soil drainage, which helps keep disease at bay and allows more water to percolate into the soil from rain or irrigation, meaning less runoff and more water getting where it needs to go.

“Ideal aeration timing depends on turf type and geography,” says Lloyd Von Scheliha of Exmark Manufacturing, a manufacturer of turf care equipment. “But annual aeration provides valuable agronomic benefits to virtually any turfgrass.”

With that in mind, here are some tips from the experts at Exmark to get the most benefits from aeration:

• Timing: Ideally, aeration should take place during times of active growth to help with recovery. Avoid aeration during times of heat stress or times preceding dormancy. It’s typically best to aerate cool season grasses in the spring or fall, while with warm season grasses, it’s best to aerate in late spring or early fall.

• Proper equipment: Use gear that meets the needs of your lawn. For example, Exmark offers a 30-inch Stand-On aerator that makes quick work of even large properties with the ability to easily maneuver around landscape features.

• Follow-up: After aeration, it’s a good idea to water the lawn, as well as a good time to apply fertilizer or overseed if needed. Be careful not to apply a pre-emergent if you plan to overseed, however, as it will prevent the new seed from growing.

Don’t let this important, but often overlooked lawn care task escape your attention this season. At the ideal time for your lawn, either take it upon yourself or hire a professional to give your grass a better chance at thriving.

Mid-Season Mower Maintenance

Thursday, July 16th, 2015

By David Martin, Exmark customer service manager

Maintenance: mower cleaning

Minimize the use of water when cleaning your mower. Instead, use compressed air whenever possible.

Now that mowing season is well under way, the last thing you want to happen is for your mower to experience downtime. The following maintenance tips will help you keep your mower running in tip-top shape.

Maintenance: mower blades

Sharp, balanced blades are critical to the performance of the cutting system. Check and sharpen blades if necessary.

  • Check the operator’s manual to see what might need to be greased. Keeping the right parts greased is an important step in extending the life of a mower.
  • Check the air filter (inner and outer) and change it if necessary. Never use compressed air to clean a filter. The powerful air stream can compromise the filter’s ability to effectively filter the air coming into the engine.
  • Depending on how many hours the mower has been running, consider changing the fuel filter. Consult your owner’s manual or http://www.exmark.com/Service-And-Support/Maintenance/Schedules/ for the recommended replacement interval.
  • Check and, if necessary, change the spark plugs.
  • Blow the debris off the unit:
    • Remove the belt deck belt shields and blow off all foreign material.
    • Blow the grass off the areas around the pumps and wheel motors (overheated oil leads to shorter component life).
    • Blow through the openings in and around the console or remove the console mounting screws to get debris out of this area.
  • Check for loose hardware.
  • Verify torque on wheel motor castle nut and tire mounting lug nuts.
  • Verify oil changes are being performed at the proper intervals, and perform the service if necessary. NEVER, under any circumstances, exceed the manufacturer’s recommendations by more than 100 hours. Significant damage will result that will reduce the machine’s lifespan and compromise productivity.

Learn more about how to effectively service and maintain your mowers and lawn care equipment at http://www.exmark.com/Service-And-Support/Maintenance/Service-Tips/.

Why Exmark Original Parts Make a Difference

Thursday, April 30th, 2015

Whether you mow your lawn once a week or you own a multi-location landscaping company, when it comes to replace parts on your Exmark equipment, only Original Exmark parts will do. If you want to get the most out of your machine, original parts make all the difference in the world.

Tried and Tested

Exmark Original Parts

Only Original Exmark blades deliver the Exmark’s signature cut quality.

You can learn a lot by testing data in a lab or research center. That said, the bottom line is how a product or part performs in the real world, so we test Original Exmark parts as our customers would, which means getting our hands dirty. When part breaks or wears out, we take it back, learn what caused the problem, and find a solution through engineering and testing. We also know our customers are by far our greatest asset when it comes to improving our products, so we make it a priority to listen to, and proactively solicit customer feedback. We use your feedback along with our own data and testing to create parts that meet our stringent standards for performance and durability.

Variety and Availability

Do you need a 36″ Blade Drive for your Viking? Or, how about a throttle cable for your Commercial 21 X-Series mower? Are you looking for a new tire for your Navigator? If you need a part for your Exmark machine, we have exactly what you need, and it’s engineered precisely for your machine. We understand how important it is to provide you with quality parts in a timely manner. When you order original Exmark products from your local Exmark dealer, you won’t be disappointed.

Exmark Original parts

Original Exmark belts fit precisely to maximize the durability and performance of your Exmark cutting system.

Consistency Is Crucial

Consistency is crucial in everything you do. At Exmark, we understand that consistency between our parts and accessories can mean the difference between a job well done and a lost client. Our rigorous testing procedures and your ongoing feedback help us deliver the highest quality parts and accessories available.

What makes our parts better than the rest?

  • We field test every part and accessory for hundreds of hours before certifying it meets our standards.
  • We use the latest engineering and manufacturing technologies to ensure every product is optimized for the job it is built to perform.
  • We use customer feedback to ensure Original Exmark parts and accessories meet the stringent standards of our users.

Ordering Made Easy

The last thing you want to do is spend hours online or in your owner’s manual trying to figure out what broke or how to fix it. We make it easy to find exactly what you need. If you need a part for any of our products, we provide an easy reference guide to help you pick exactly the right part for your Exmark machine.

Keep Your Mower Running

All of the best parts in the world can’t keep your Exmark equipment running properly if it isn’t well maintained. Each one of our products has a specific maintenance schedule that must be followed to preserve its performance and durability. By following the maintenance guidelines, your Exmark equipment will give you years of reliable service.

Make the Most of Your Mowing

If you want to get the most out of your Exmark equipment, proper maintenance is a must. And when something does wear out, replacing it with Original Exmark parts will help extend the life of your machine and save you money for years to come.

Get Greener Grass: Your Guide to Proper Lawn Watering

Tuesday, April 14th, 2015

Spring is here… Is your lawn ready? Whether you’re a landscaping business or a homeowner, it takes dedication to give your lawn that lush, green, and inviting feel you’re after. When it comes to watering, there are good ways to water a lawn, and then there are better ways. If you want the best way, you’ll need to know how to water your lawn sufficiently while avoiding the problems — and higher costs — of over watering.

Proper watering is the way to a greener, fuller lawn.

Getting the lush, green lawn you desire may not require as much water as you’d think.

Take a Look at the Climate

After a long winter, a green lawn sounds really good this time of year. When preparing to water, there are a few things to bear in mind — one is the climate. If you are experiencing enough rainy weather to sustain your grass, there’s no need to turn on a sprinkler. This only wastes water and sends your money down the drain. Also, be aware of any drought conditions in your area and whether outdoor water use is restricted in some way.

You shouldn’t begin a regular watering schedule until the days grow warmer, the grass is exposed to more sunlight, and the number of rainstorms diminishes. A moisture sensor, when added to your existing system, can eliminate guesswork about when to begin watering. The sensor automatically prevents irrigation when moisture in the lawn is sufficient, so you only water when the lawn needs it.

A Note on Aeration

It’s also a great idea to aerate and fertilize the grass at the beginning of the watering season. Aeration will allow the lawn to absorb moisture, air, and fertilizer more effectively. Your lawn will turn green faster and will require less water to do so.

How Often to Water

Proper watering should not require you to water a lawn every day. Your grass often benefits more if you water deeply 2-3 times each week. Here are a few tips:

  • Program your timer to turn on the sprinklers during the time of day when evaporation is low. Early morning is the best time to water.
  • Avoid watering between 10 am and 6 pm. The afternoon heat will cause water to evaporate more quickly.
  • Avoid watering in the middle of the night unless you live in a very dry climate. Mid-night watering can cause excess moisture, which can result in mold or fungus growth.

How Much Is Enough?

During the summer months, your grass should receive between 1- to 1.5-inches of water each week. Watering three times per week means you should apply about 1/2-inch of water each day you water. But take note — if you see water running off your lawn and into the street, make sure to read “What is the Proper Technique” below.

How Long Should You Water?

There is a difference between determining how much you should water and how long you should water. The key link between the two is the type of sprinklers in your system and how fast they apply water.

For conventional spray-type sprinklers, you can apply 1/2-inch of water in about 30 minutes. For rotary-type sprinklers, usually used for larger turf areas, applying 1/2-inch of water takes about 60 minutes. You can determine your application rate in a couple of different ways:

  • Before turning on the sprinklers, place empty tuna cans around your yard, particularly in areas you want to make sure are getting enough water. After watering for 10 minutes, use a ruler to measure and record the depth of water in each can. Using the average depth, you can now determine how long it takes to apply 1/2-inch of water to your lawn.
  • Use a rain gauge to measure.

Deep watering like this will encourage deeper root growth. With deeper roots, the grass will be able to continuously draw on more water hidden beneath the surface.

What Is the Proper Technique?

There is a proper technique to watering if you want to make sure your lawn is receiving even coverage. Otherwise, some areas could become saturated while others aren’t receiving enough.

At the beginning of the season, test your sprinklers to ensure that they cover the entire lawn without spraying over onto driveways and walkways, or creating runoff. You can also test for even coverage with the tuna can trick mentioned in the above section. Sprinkler patterns should overlap 100% if possible. This is called “head-to-head” spacing and helps improve how evenly the water is distributed on the grass.

If you’re watering deeply, the soil will help spread the water more evenly and it won’t be quite as critical for your sprinklers to cover every inch. However, the more head-to-head coverage you have, the more efficient your sprinkler system will be. And the higher the efficiency of the sprinkler system, the less water is required to keep your grass green and healthy.

If there is runoff onto the street, try splitting your total run time into two or three segments. For example, if your system needs 30 minutes to deliver 1/2-inch of water to your lawn on a given day, set your run time to 10 minutes and program two repeat segments. Allow the lawn enough time (about 15-30 minutes) to absorb the water from the first watering session before allowing the system to water again. Repeat the watering segments until you have watered deeply.

Mowing after watering is not advised. Water after mowing.

Don’t mow when grass is wet, or in the midday heat.

Tips for Mowing

Be sure to only mow your lawn when the grass is dry, and avoid mowing in the heat of the day, as this can cause excess stress to the grass. Also, do not mow too short or the grass will become unhealthy, less able to grow, and more vulnerable to diseases and weeds. Only mow about one-third off the length of the grass blades at most.

Why to Conserve Water

Conserving water is not just important if you live in a desert climate or a drought-prone area. Water conservation will save you money on your water bill and will ultimately do favors for a green, vibrant lawn. Overwatering your lawn isn’t just unneeded; it can be bad news for the lawn and the environment. It can lead to fungus and mold growth, and can cause sinkholes and other problems in the yard.

You can actually build a more resilient lawn by allowing it to go without water for a day or two (or three). This will encourage the grass to sink deeper roots into the soil to find more water. Just remember to water the lawn deeply when you do water to support this root growth.

Ready for a beautiful lawn? It may not take as much work, or water, as you think.

The Importance of Keeping Mower Blades Sharp

Thursday, March 26th, 2015

At Exmark, we understand the importance of making sure your lawnmower is in tip-top shape in preparation for the upcoming landscaping season. One of the top maintenance items for any rotary mower is to ensure blades are properly sharpened, balanced and in good working order.

Exmark blades

Sharp, balanced blades are an essential component of cut quality. Exmark offers a variety of blades to optimize performance for different cutting conditions.

Why Sharp Blades Matter

When you are shaving your face in preparation for the day, think about the difference between the times you use a brand-new razor blade and the times you are trying to get one last shave out of an old blade. When using an old blade, your skin is more prone to cuts, infection, and irritation. When using a brand-new blade, you get a nice, clean shave.

The same thing happens with your grass. If the blades are dull or nicked, the lawn will get cut in a ragged way, causing it to suffer damage and become more susceptible to pests and other diseases. But if the blades are nice and sharp, the grass will get a clean cut, with greatly reduced damage or stress.

Blade Inspection

Mower Blade

Inspect and sharpen or replace mower blades at the start of each cutting season.

At the beginning of the landscaping season (and after roughly 8-10 hours of service) do a thorough inspection of your mower’s blades. Signs of a dull blade include bends, nicks, and/or dents. You’ll want to ensure the blades are properly sharpened and balanced. In addition to the physical inspection of the blades, do a quick inspection of the lawn before you begin your landscaping — clear away any rocks, sticks, or other debris in the immediate area. As you mow, keep an eye out for these blade-nicking items.

Properly Sharpening Your Blades

Keep in mind these few basic tips for sharpening your blade:

  • Wear protective gear, such as safety glasses
  • Disconnect the spark plugs
  • Remove the blade (instructions are found in your owner’s manual)
  • Use a metal file or sharpening stone
  • If using a file, run it in the direction of the blade’s angle — never file back and forth
  • Work in one direction only; blades usually have an angle of 45 degrees
  • Consult your owner?s manual for procedures specific to your mower

Depending on usage, replace your lawn mower’s blade(s) every 1-3 years. Always use OEM blades designed for your specific mower. Universal blades may save you a couple dollars, but can cause potential safety issues from improper mounting and/or the type of metal used to construct the blade.

Properly Balancing Your Blades

Having properly balanced blades is every bit as important as blade sharpness. An unbalanced blade causes stress on the engine and cutting deck due to vibration.

After you sharpen the blade, test its balance with a blade-balancing tool. If you don’t have access to this specialized tool, you can hammer a nail partway into a wall in your garage and hang the blade from it (using the center hole). If the blade hangs horizontally, it is in balance. If one side drops, remove excess material from the side it leans to, using a file or sharpening stone.

Professional Sharpening

If you follow these recommendations and have the proper tools and safety gear on-hand, sharpening your blades is a relatively easy task. However, if you don’t have the proper gear, or don’t feel comfortable doing this type of maintenance yourself, your local Exmark dealer can quickly sharpen and balance blades for you.

Bottom line: using sharp blades will help you have a perfectly mowed lawn, every time.

Resources:

Spring Mower Maintenance Tips

Thursday, February 19th, 2015

While much of the country is still locked in winter weather, it’s not too early to prepare your mowers for the coming of spring. While Exmark machines are built to last, even in the toughest conditions, they’ll last a lot longer with with proper maintenance.

Here are a few ways to help your equipment perform at its best this spring:

Exmark Engine Oil

Oil is the life blood of your engine, so it makes sense to start the season off with a fresh oil change.

  • Change the gas and oil soon after taking out your mower. Gas that has been sitting in the tank throughout the winter degrades in quality and can cause hard starting and/or inconsistent performance. Old, contaminated oil can cause serious engine damage as well, so when in doubt, change it out.
  • Check the blades before any big job. Few parts can affect cut quality and mower performance as dramatically as sharp, balanced blades. With a little practice, you can change a set of blades and be mowing in less than five minutes, and the higher quality cut quality and increased productivity will make it well worth your time.
  • Clean your mower inside and out. Dirt and grass clippings can build up and reduce the performance of your machine. Minimize the use of water for cleaning whenever possible. Instead, use compressed air. A clean cutting deck offers improved air flow and capacity, allowing you to get more work done with better results.
  • Exmark blades

    Sharp, balanced blades are an essential component of cut quality. Exmark offers a variety of blades to optimize performance for different cutting conditions.

    Consult your owners manual for specific service requirements and schedules of your machine. This is essential for proper care of your equipment. Even if you’re a mower maintenance guru, the difference in maintenance procedures and timeframes from one model to the next can be surprising.

  • If something does go wrong, or you have questions or doubts about the maintenance you’re performing, don’t hesitate to call a service professional at your local Exmark dealer. A few well spoken words of wisdom can save a do-it-yourselfer from hours of headache.

Bottom line, it’s not hard to keep your mower maintained, and doing so will maximize the performance and durability of your machine.

How to Mow Your Lawn like a Pro

Thursday, November 13th, 2014

When you have a lawn that you are proud of, you want to take good care of it so it stays in excellent shape. One of the things that can make a huge difference in the appearance of your lawn is how you choose to mow it. The famous lawns on sports fields and golf courses look the way they do because of the way they are mowed. Follow these tips to mow your lawn like a pro. Lazer_Z_X-Series_Outdoor_004

Professional Mowing Tips

  1. Mow your lawn when the grass is dry. This is typically in the late afternoon or early evening after the dew on your lawn has dried. When the grass is wet, it can clog the blades of your mower, and because the grass is slippery, you cannot mow it as evenly.
  2. Put a roller behind your mower. The lines that you see on professional fields stand out because of the way the grass is bent. There is a rubber tail on the back of your lawn mower that is made to bend the grass, but it will not do a good job unless you add some weight to it. You can add some weights to the rubber tail, or even make your own by attaching a door mat to the back of your mower so it drags behind it. To get lines across the lawn, you can start by mowing around the perimeter, then mow back and forth in opposite directions, and finish by mowing the perimeter again.
  3. Keep your grass long, and cut it regularly. The grass will bend better and look better if you keep it between two and four inches long. It will look best if you mow regularly so it doesn’t grow out too long. Once a week is usually a good schedule to keep for mowing your lawn. When your grass is a little longer, it will actually be healthier too.
  4. Get a trimmer for your lawn. You can purchase a weed whacker or other type of lawn trimmer to cut around the edge of your lawn. It is worth it to invest in one and use it after you mow every week. This will create a clean edge for the lawn.

It’s Time For Fall Mower Maintenance

Thursday, September 25th, 2014

As the calendar moves from summer to fall, it makes sense to turn your attention to maintaining your mower. Proper maintenance is essential to the longevity and performance of any mower, and proper service ahead of extended storage ensures the performance you enjoyed this season will carry forward to the next.

A focus on fall maintenance helps you get a quick, trouble-free start next spring.

A focus on fall maintenance helps you get a quick, trouble-free start next spring.

Start clean

It’s important to start a period of storage with a clean mower, as any debris left on the mower will either trap moisture or become fodder for a rodent nest. It’s also easier to inspect and perform necessary service prior to storage when you’re not working through a thick layer of dust and debris.

Never use solvents to clean your mower, and minimize the use of water as well. Instead, use compressed air or a leaf blower, and finish by wiping the exterior surfaces with a damp cloth. Take your time and clean the mower completely, including under the seat, under the deck, behind the wheels and around the engine and drivetrain.

Examine Your Machine

Refer to your owners manual or to Exmark.com for information about specific service schedules, but once your mower is clean, inspect it for clear signs of wear and tear and replace any parts that are at the end of their life cycle. Checking and servicing or replacing normal wear items such as belts, tires, blades and other parts restores mower performance and ensures safety and long life. Plus, replacing worn parts prior to storage gives you the opportunity to get a quick start on the next season, as your focus won’t be distracted by service related issues.

Pay particular attention to normal wear items during your mower inspection, such as the condition of blades and deck drive belts.

Pay particular attention to normal wear items during your mower inspection, such as the condition of blades and deck drive belts.

Sharpen Blades

The efficiency and quality of cut your mower delivers is highly dependent on sharp blades for top performance. After a hard season of mowing, it makes sense to sharpen your blades. In doing so, you can be confident your mower will hit the ground running when it comes out of storage in the spring.

Focus on Fuel

Extended storage can wreak havoc on an unprotected fuel system, so prior to storage it’s important to either drain the fuel tank (and system) completely, or add stabilizer to the fuel. If you go the fuel stabilizer route, be sure to run the engine for a few minutes after the stabilizer is added. This will distribute the treated fuel throughout the fuel system to keep it clean and deposit free during storage.

Remove the Battery

When storing a mower for extended periods, it’s a good idea to remove the battery from the machine and store it in a climate controlled area (preferably at 50-70 degrees F). Not only will this preserve battery condition, it will ensure that a leaking battery doesn’t cause corrosion to the mower frame during storage. Learn more about caring for batteries in this post from Exmark’s David Martin.

Fresh Lube is Good

Lubrication is the life blood of your mower, and it’s important to refresh all lubricants prior to extended storage. This includes changing the engine oil and filter as well as the hydro (drive) fluid and filter, and greasing all zerk-equipped bearings on the machine.

Replace both engine and hydro oil and filter(s) prior to extended storage.

Replace both engine and hydro oil and filter(s) prior to extended storage.

Take your time when lubricating your mower, as it’s important to remove any load or binding from bearings being greased. This ensures lubrication reaches the entire bearing instead of just a portion of it. Also, inspect bearings for wear and/or play, and replace any bearings that have been compromised in any way.

Storage Considerations

Regardless of where you store your mower — in a barn, under a waterproof tarp, or in an inclosed trailer — it’s just as important to keep rodents at bay as it is to keep the elements out. There are a variety of traps and chemicals to choose from, and natural solutions such as oil of peppermint or Osage oranges can also be effective at keeping your machine free of vermin. It’s important to avoid the use of harsh chemicals on your machine, as many can cause damage to its finish, or to specific components. Your local Exmark dealer can be a good resource for suggestions to control rodents specific to your area.

Keeping moisture at bay is equally important. Store your mower in a place where snow, rain and ice can not reach it. Rust can appear quickly on stored machines left out in the elements, so keeping your mower in a well-protected place preserves not just its longevity, but also its performance.

Learn more mower service tips at http://www.exmark.com/ServiceTips.aspx. Locate the service schedule for your Exmark machine at http://www.exmark.com/MaintenanceSchedules/.